
Ordering solar street light samples is a critical step that separates successful projects from costly mistakes. While a datasheet looks promising on paper, the physical sample tells the real story. For procurement managers and project engineers, evaluating solar street light samples requires a systematic approach. Here is a 5-step checklist to ensure your bulk order meets performance and longevity expectations.
1. The Visual & Structural Inspection (First Impressions Matter)
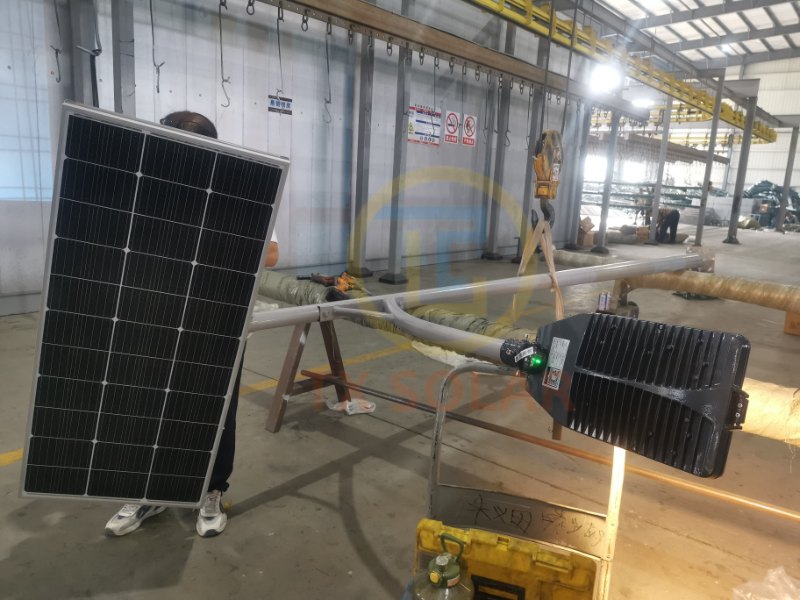
Start with the housing. High-quality solar lights use die-cast aluminum with robust powder coating. Scratch the surface lightly with a key; if the paint peels easily, it indicates poor oxidation treatment, which will lead to rust within months. Check the seal between the lamp body and the solar panel bracket. There should be a silicone gasket ensuring IP65 or IP66 waterproofing. Also, weigh the unit. Heavier often means better heat dissipation—a critical factor for LED lifespan.
2. The Solar Panel Efficiency Test (Beware of Overrated Specs)
Many solar street lighting suppliers claim “high-efficiency monocrystalline,” but the grade varies. Place the sample outdoors under standard midday sunlight (around 1000W/m²). Use a multimeter to measure the open-circuit voltage and short-circuit current. Compare these numbers against the datasheet. A deviation exceeding 5% is a red flag. Additionally, check the cell alignment—gaps or crooked busbars indicate Grade B cells, which degrade 20-30% faster than Grade A.
3. Battery Capacity & Type Verification (The Heart of the System)
You cannot see the battery, but you can test it. Disconnect the solar panel and turn the light on at full power. Record the time it takes for the light to dim or shut off. Compare this with the claimed ampere-hour (Ah) rating. More importantly, ask to open the battery compartment (or check the label) to confirm if it is Lithium Iron Phosphate (LiFePO4) or Ternary Lithium. LiFePO4 is safer and has a longer cycle life (over 2000 cycles), especially important for high-temperature environments.
4. The Lighting Performance & Beam Pattern (It’s About Coverage, Not Just Lumens)
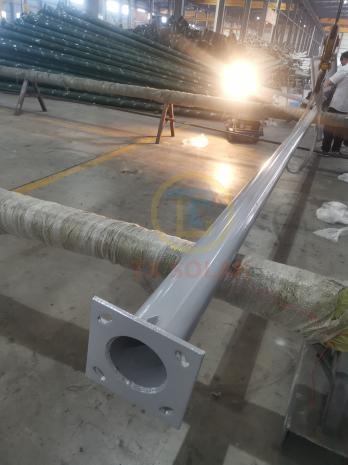
High lumens mean nothing if the light is scattered. At night, install the sample at the proposed height (e.g., 6 meters). Observe the beam pattern. A good optical lens (PMMA) should create a “Type II” or “Type III” rectangular light distribution, effectively covering the roadway without shining into residents’ windows. Use a lux meter to measure the uniformity ratio (Average Lux / Minimum Lux). The industry standard is above 0.4. If the center is too bright while the edges are dark, your project will have “tiger stripes.”
5. The Extreme Weather Simulation (Rainy Days & High Temp)
Solar lights must survive 3-5 consecutive rainy days. To simulate this, fully charge the sample, then cover the solar panel completely. Run the light at your required dimming profile (e.g., 100% for 5 hours, then 30% until dawn). Count the total hours. If it doesn’t last your required backup time at the correct brightness, the battery bank is undersized.
Final Pro Tip:
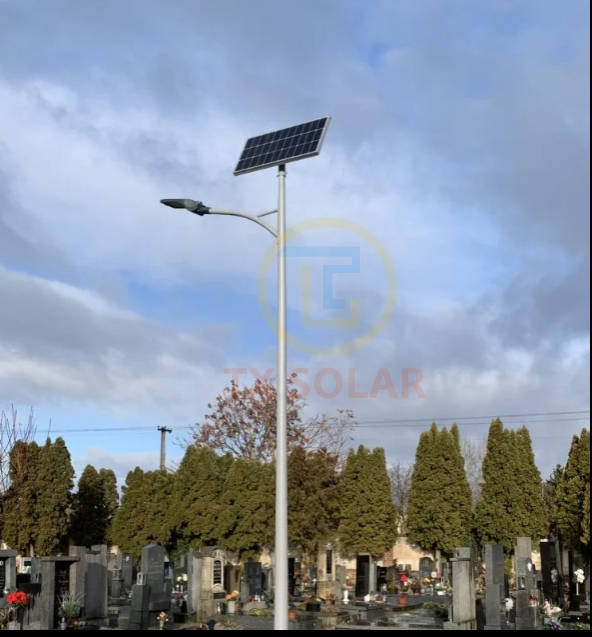
Do not rely solely on the “test report” provided by the factory. Ask for a third-party inspection (like SGS or TÜV) during the sample phase. Also, request a video call where the factory demonstrates the waterproof test and the salt spray test. A solar street lighting supplier who confidently walks you through these tests is a supplier worth scaling with.
Post time: Sep-10-2026


